Hello there fellow comrades.
I strongly felt like geometry today so I went and started this DIY project. When walking past CUE the other day in the city I saw this whole colour blocking black and white thing on a button up shirt and thought it looked good. No need to mentino I don't want to spend heaps of money on a shirt I can only wear one or two seasons so I thought I'd make this a DIY.
So here we go:
You will need:
- Cotton t-shirt in any light colour
- Fabric paint - make sure this is not some cheapy but actual paint you can colour clothes with you intend to wear! Make sure it is washable and stays true to colour when it's dry too, otherwise this whole project would be a waste of money and time
- Applicator brush - this bristle brush works really well and is the perfect size
- pencil
- packing or any other type of wide tape (tip: make sure it doesn't leave any glue on your shirt when peeling off first!)
- measuring tape
- voodoo cat (for amusement purposes only)
 |
| STEP 1: Lay the shirt down flat and make sure there are no wrinkles and stuff. Straigthen the hemline. |
 |
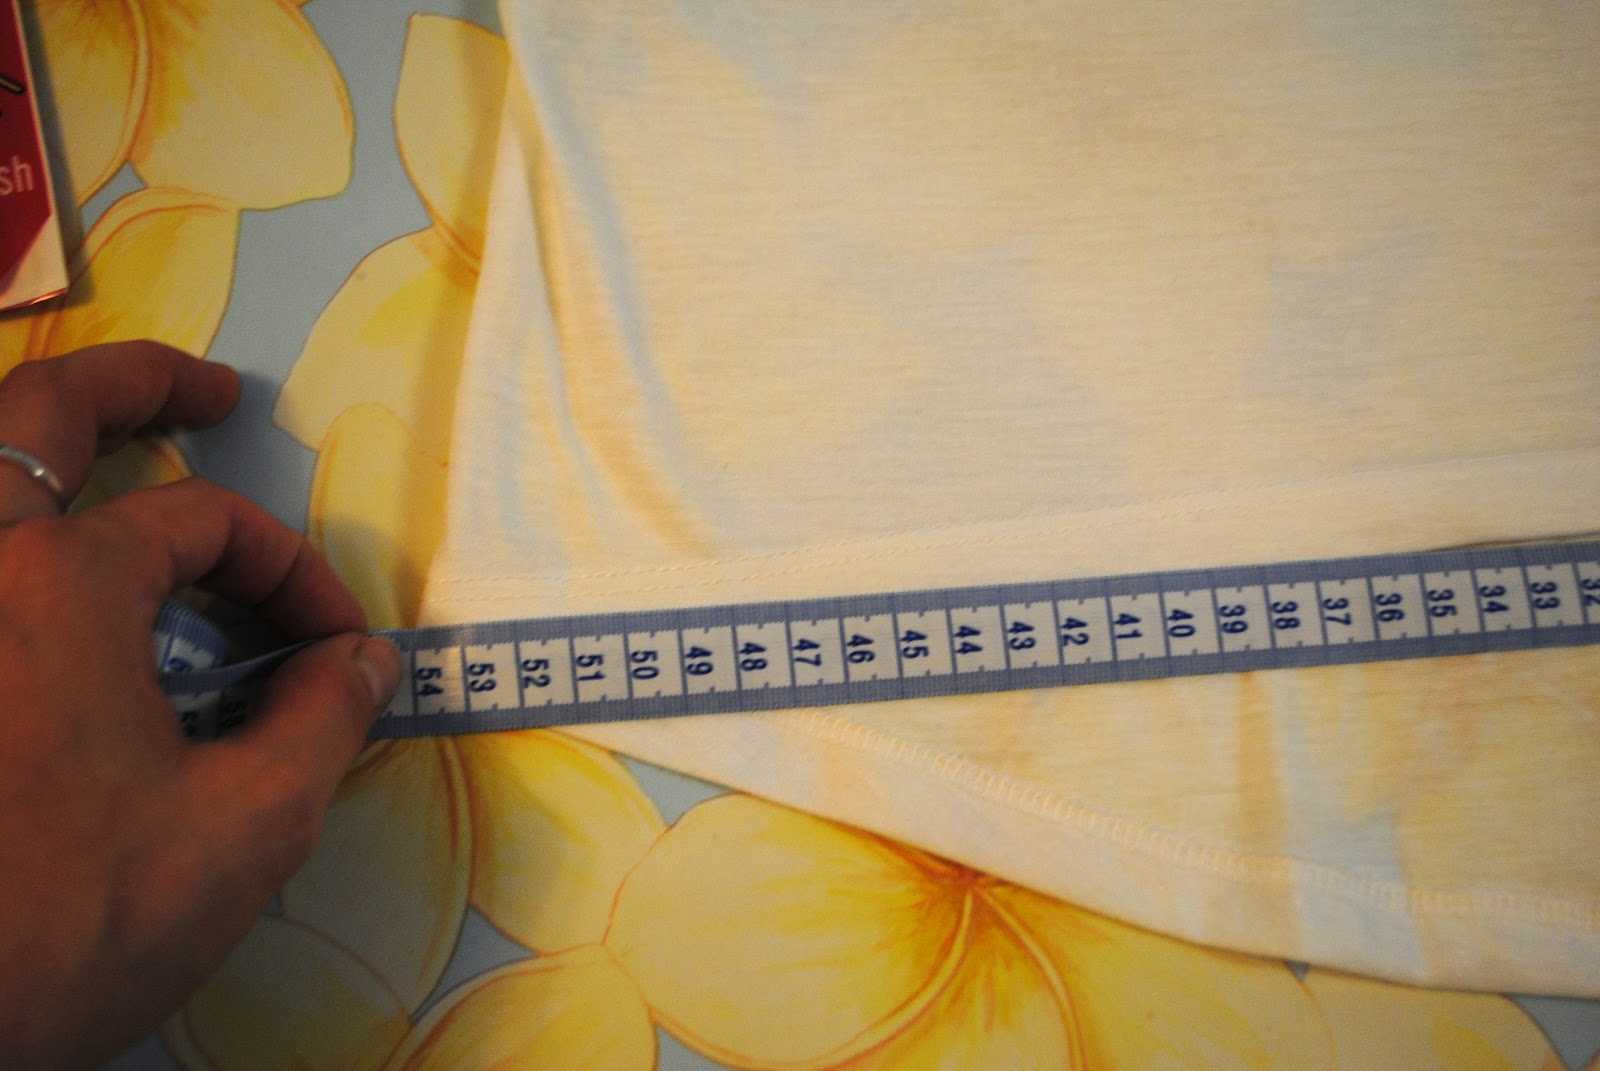
| STEP 2: To get a bit of symmetry into this, measure the lenght of the hemline, then divide by two |
 |
| STEP 3: Mark the middle of the hemline with a pencil |
 |
| STEP 4: Measure up straight from the pencil mark and choose a 'height' for your triangle. |
 |
| STEP 5: Again, mark with a pencil |
 |
| STEP 6: Use the tape to connect the 'height' mark with the left hand corner. Make sure the tape touches the mark. |
 |
| STEP 7: Repeat on right hand side and stuff a piece of carton or newspaper between the back and front of the shirt. This avoids paint bleeding. If you happen to be a hobby alcoholic, you can stuff some Dan Murphy's junk mail in there. This has one major advantage - you can check out liquor prices and decide what to get fucked up on next, ALL WHILE you're being creative. |
 |
| STEP 8: Make a paint tray out of something. In this case, I used something that was on its way to the bin. I thought I should get some actual use out of it before throwing it out. (Ah Cosmo...the most overrated and manipulative magazine there is.) The fun part can begin!!! |
 |
| STEP 9: PAINT! Always recommendable: Paint the outline first! If using tape, put the brush onto it and brush inwards. This avoids the brush or even just small bristles to slip underneath the tape and mess it all up. Very important, if you are working with darks and whites. |
 |
| STEP 10: Look at it in amazement! |
 |
| STEP 11: FUUUUUUUUUUUUUUUUUUUUUUUUUUUUUUUUUUUUUUUU |
 |
| STEP 12: Allow at least 5 hrs or so to dry, before taking off the tape. If you used good quality colour, it should just peel off with the tape without smudging the masterpiece. For drying times and washing instructions, just follow the instructions on the paint bottle. I will let this beauty dry flat for 1 day now before taking the paper out, and have to leave it for another 72 hrs before washing it. I recommend hand washing it seperately for the first two or three times to avoid any excess colour to stain the rest of the shirt or other garments. |
SO there you go. Another masterpiece right there. And very budget friendly:
Colour: $ 5.99 per bottle (used 1/3)
Brush: $ 2.29 (of course this is reusable..but anyway...)
Shirt: $ 4.95
Total: $ 9.24
What do you think?